Chocolate Film Developer
During my photography degree I taught myself how to enjoy food, so it is with no surprise that some of my ongoing, intersecting interests are Photography, food, and drink.
For nearly a decade I have worked with coffee to develop my films, black and white and colour alike. Then a few years ago, to bring back some fun, joy and play into my work, I experimented with Pumpkin Spices; creating ghostly pictures with an autumnal flavoured developer.
Before I started drinking Flat whites, lattes and French pressed, there was hot chocolate. Heading to lectures, me and some of the other photography students would take a detour to the closest café and I would buy myself a soya milk hot choccy. Jump forward to January the first 2024 and I am trying to make a loose New Year Resolution; to read one physical book a month. January’s book was Chocolat by Joanne Harris. I haven't seen the movie so figured I would start with the book (please don’t come for me). The descriptions of all the delicate truffles, Florentines and pots of warm chocolate made me yearn for the deep cocoa scents of a Chocolatier.
One drink I was desperate to try was a Chocolate Espresso. Mochas are one of my favourite drinks so a short, punchy version of this sounded like perfection. Mixing the dark shavings into the pulled espresso, stirring from a lumpy brown puddle into a smooth rich cream, reminded me of how thick the PS development mixture became after steeping spices in preparation for my experiments. I stirred.
Coffee and chocolate, scrumptious. Two of my favourite things. Yum yum yum. Coffee is so great. Caffenol is great. Caffenol, chocolate, I should make a chocolate developer. Can I make a choccy dev? Would chocolate work? What about cocoa powder? What about Dutch processed? What’s the difference? What about cacao? That's not roasted I think? But nibs are roasted? What about nibs? I’ll have to do a google.
So I first researched if chocolate could be made into a developer. It could. After figuring out the measurements for my recipe, I had a quick look to see if anyone had tried it out. They had. I came across this blog post, Experiments in developing Film with Chocolate, by Beau Photo, more specifically “Kathy K”, that had been posted in March 2022 . It seemed that they used cacao husks and made a strong tea out of them (I had no idea chocolate tea was a thing and I will be looking into this so I can find out what it tastes like!). The results were gorgeous and fired me up to test it out. I, however, wanted to use what I already had in the kitchen, cocoa powder. And I was extremely surprised and delighted with the results.
What I hadn’t anticipated, but should have expected, was oil on my negatives. I think I had subconsciously thought, being a powder with high cocoa content, that there would be little fat content but I was wrong. Fat content in Cocoa powder will vary depending on the amount of cocoa butter still remaining in the product. I had heard dutch processed cocoa powder is meant to be “higher quality”. Turns out it is the cocoa powder with the highest fat content, giving it a more decadent taste. Unsuitable for my needs but I bet incredible in a drink or used in baking! The powder I used was an “own brand”, bog standard, supermarket powder, so I assume lower quality = lower fat content.
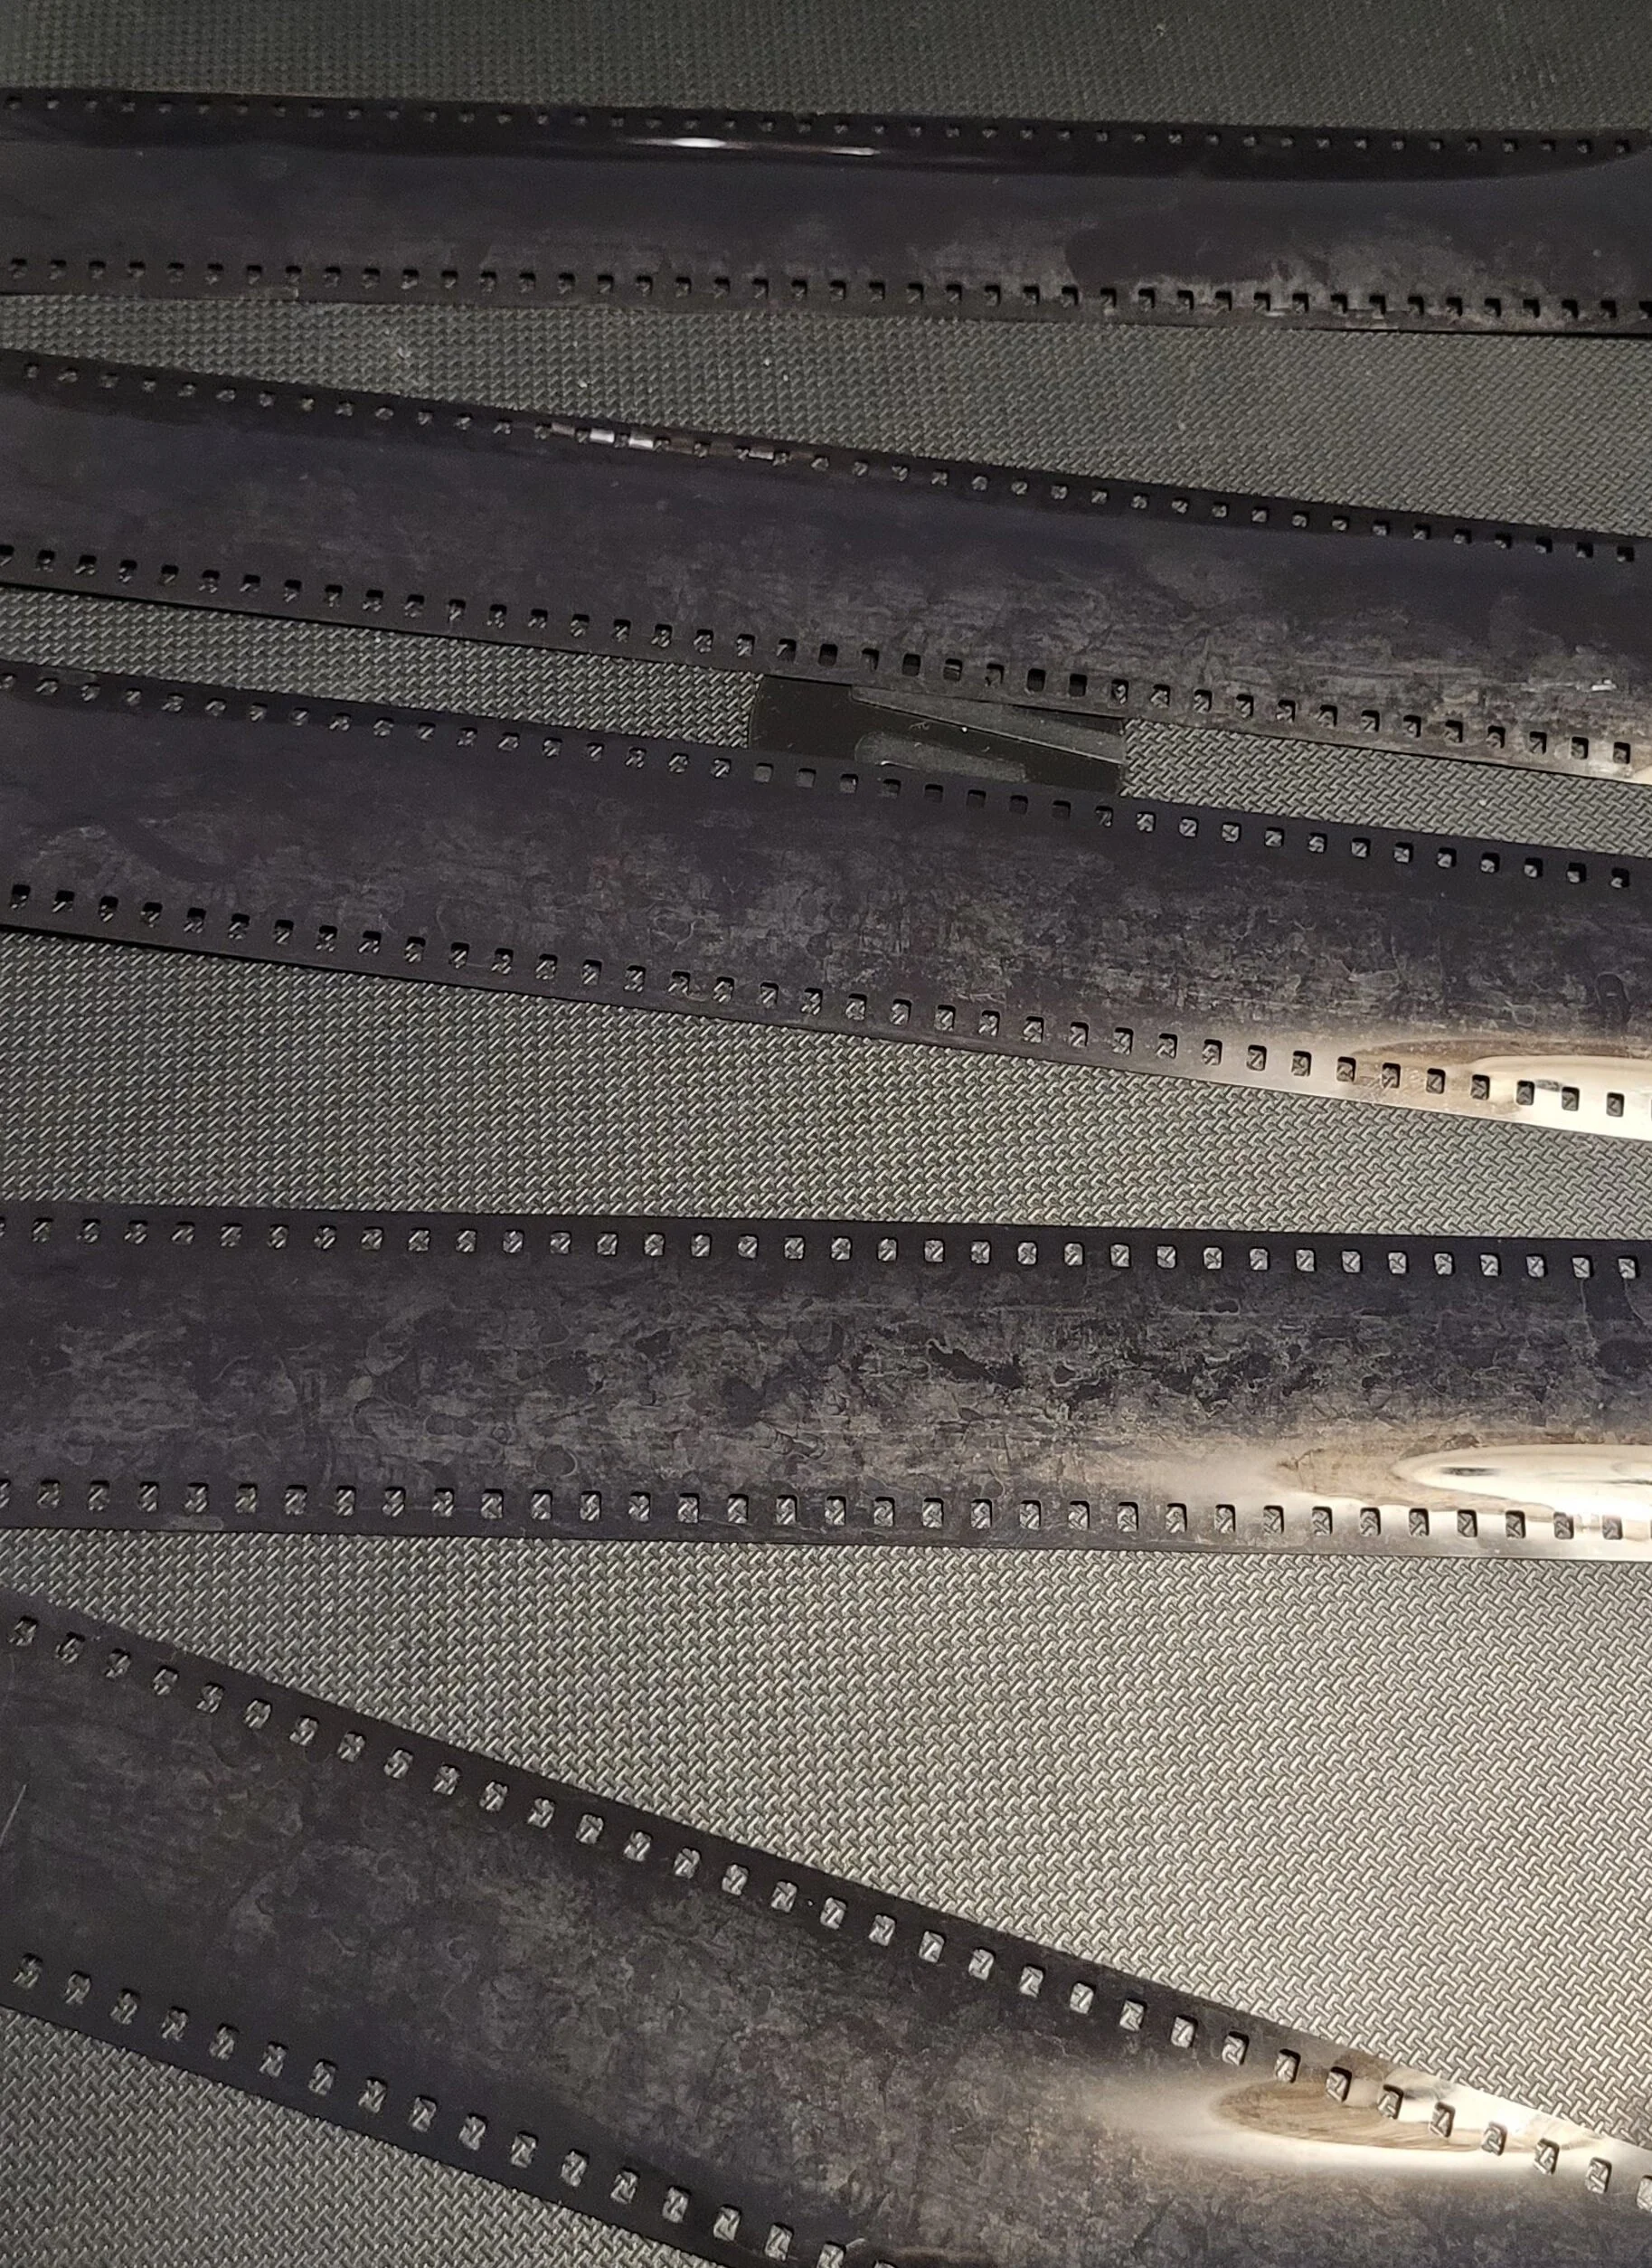
After looking into different methods of cleaning negatives, I had to take what I had learnt from my experience in kitchens. The only way to really break down oils is dish soap. Starting with a few different approaches to this, I opted to dunk the negative in soapy water and then wipe softly. I can be really impatient and it is clear here as I should have, in hindsight, done a final wash in water with a bit of rinse aid. I cleaned this film right before bed and in my tired state, wiped it on top of a clean tea towel, to protect it against a possible dirty work surface. The top was clean and oil free, but the emulsion side picked up all of the tiny pieces of loose dust and fabric from the towel before I hung it up to dry.

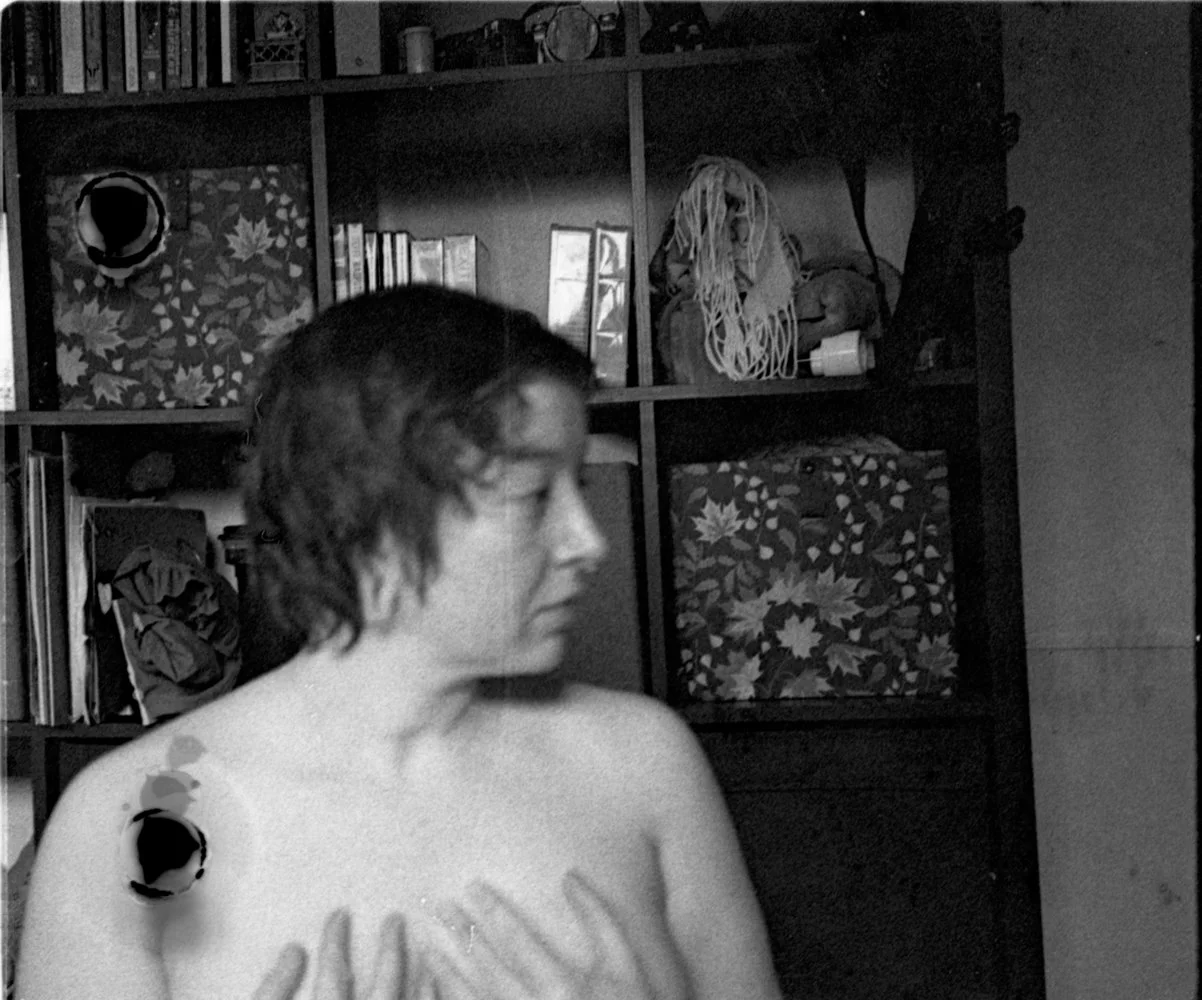
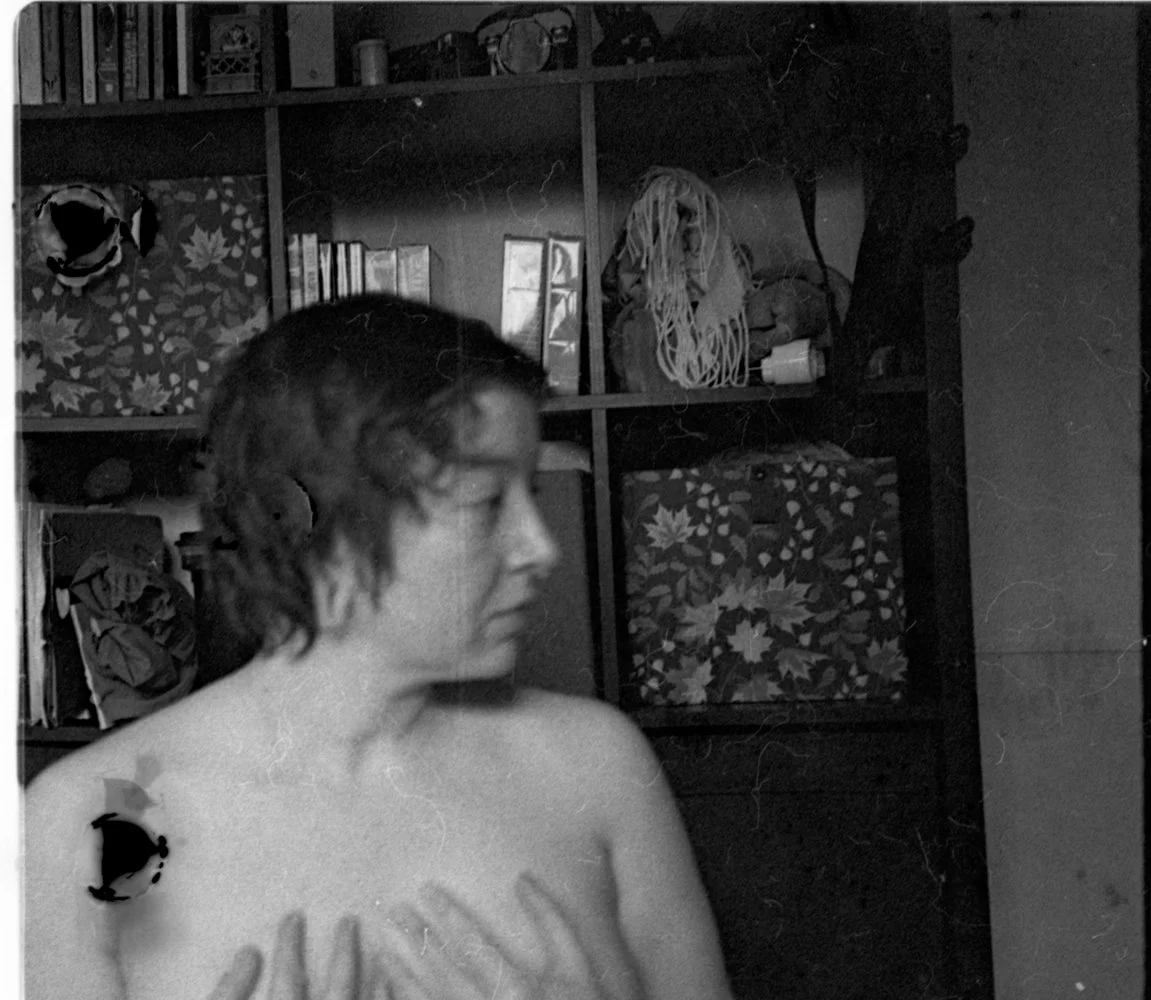
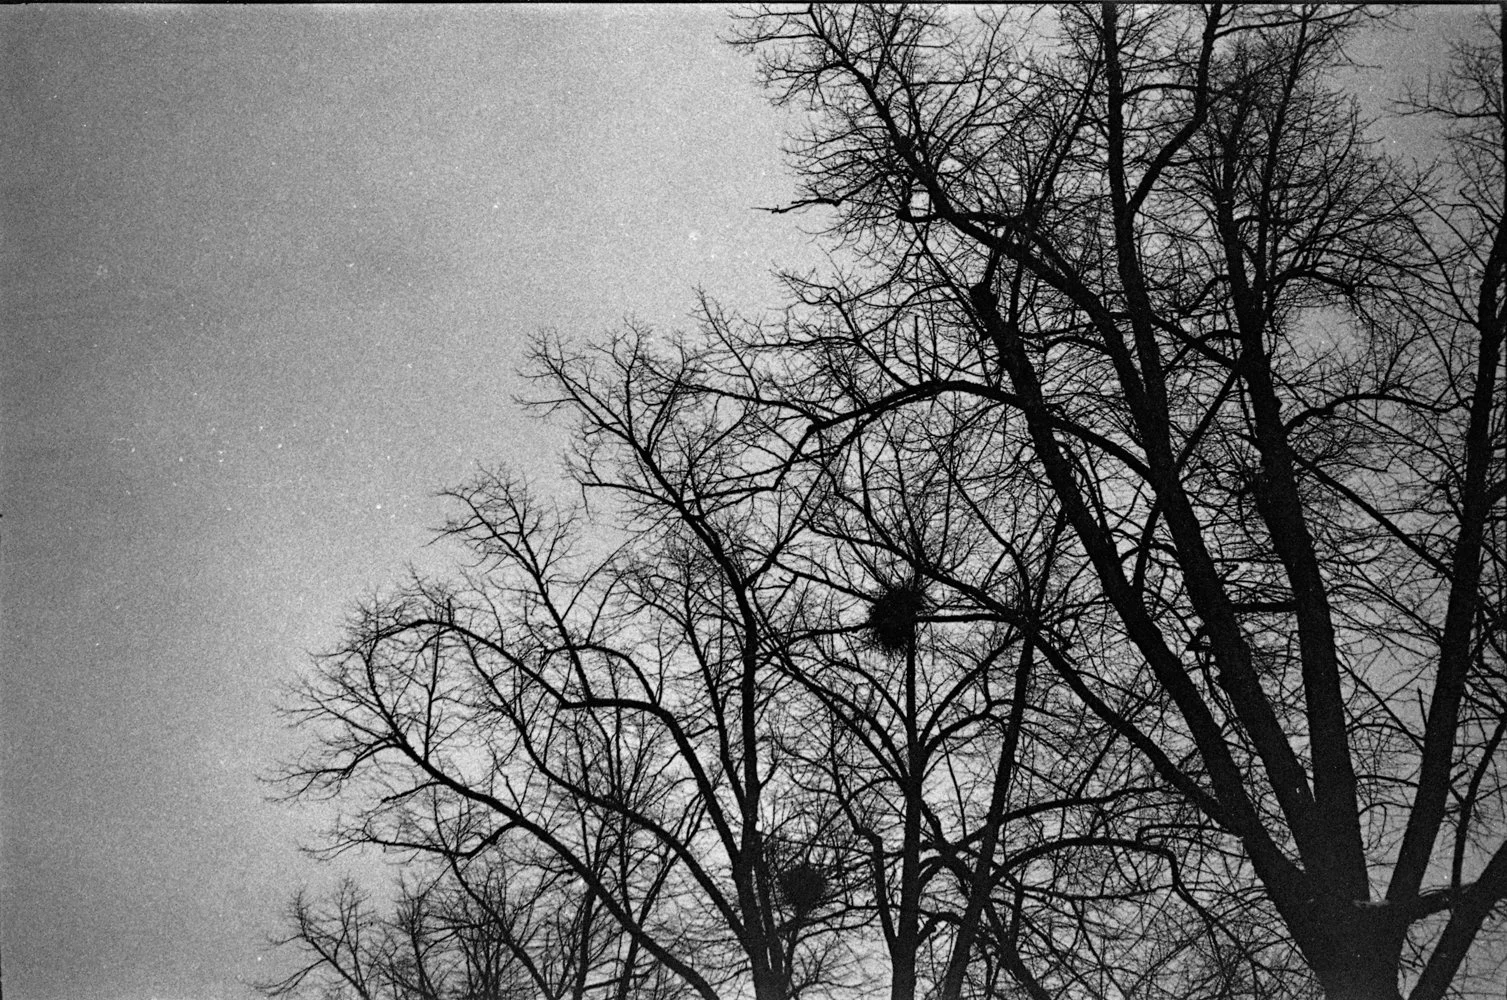
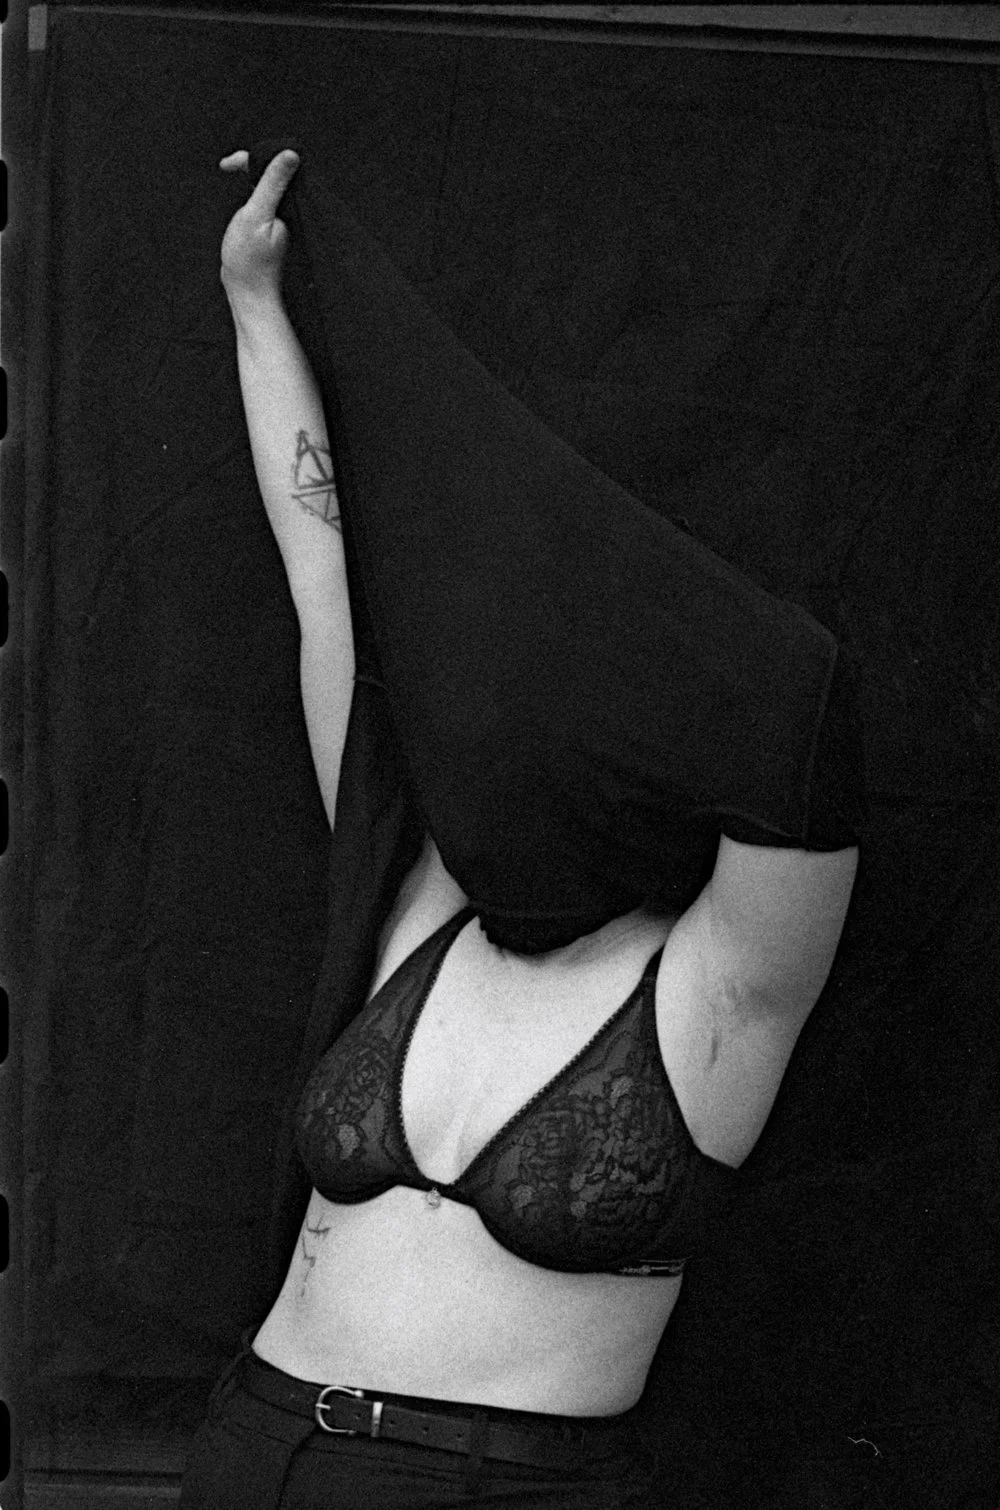
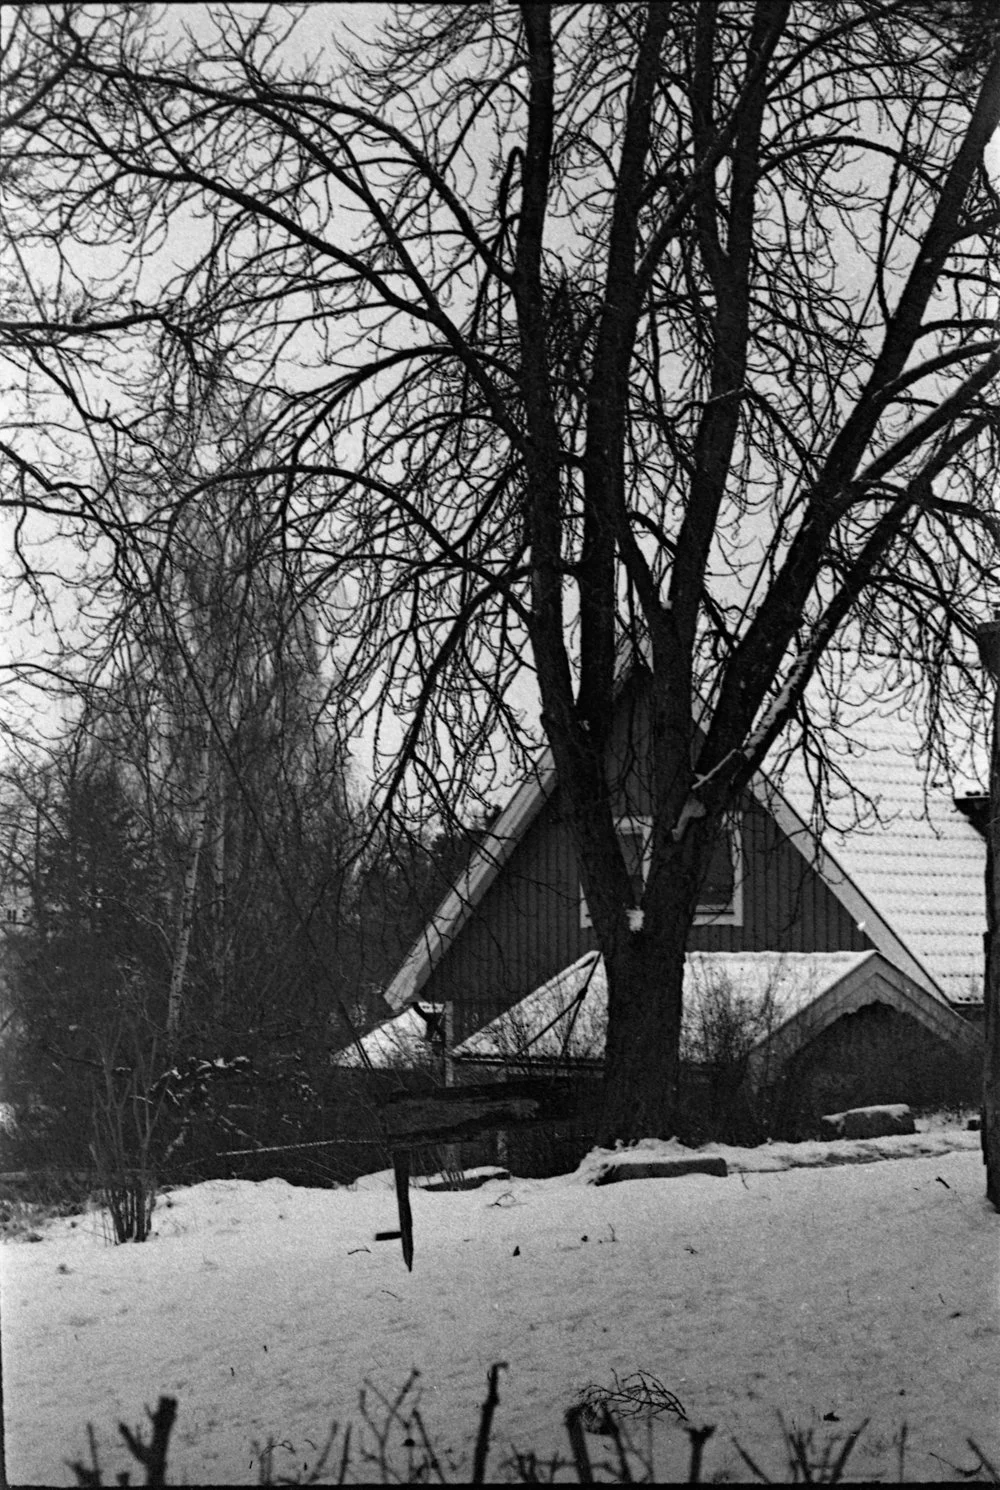
There wasn’t a great deal of difference between the uncleaned (top) and cleaned (bottom) images at first glance. They are generally clearer but on the other hand, some have been damaged slightly by the cleaning process. I will have to clean them all at one point for archival purposes but all in all I am very happy with these results. I think the recipe was a little bit strong* so will I tweak it in my next dev. So all though not finished I was so excited to share my preliminary results!
*To be honest I really wish I had access to a dark room so I could do a contact print of my negs for a more definitive and overall look at my negatives. Or I need to tweak my scanning and make contact prints this way!